
Leak Ink Effect Photoshop Action Free Download This cool Leak Ink action will turn your favorit photo into modern art design with just one click! Working Software Version : CC2018 English Version. If you are not using the English version, you can switch your Photoshop in English, play the action and return to your language back. How to do it –
Software support version : Cs4, CS5, CS6 , CC2017, CC2018+… Version

INCUDE:
1. Leak Ink Photoshop action 2. Brushes 3. Pattern 4. Help file Photos : photo are not include
LEAK INK Photoshop Action | You can use this paint drip effect for your cover design, example magazine, book, advertisement , posters, baners, background etc.
This cool Leak Ink action will turn your favorit photo into modern art design with just one click!
RULES & RECOMMENDATIONS
1. Use photo sizes between 1500–2500px (recommended 3000px) 2. Use photo resolution between 240-300dpi (recommended 300pdi) 3. Use RGB and 8bit color mode in Photoshop 4. Use your photo as the background (Layer -> New -> Layer from Background)
If you have any questions or sugestions, feel free to contact me. I will gladly answer to any of your question!
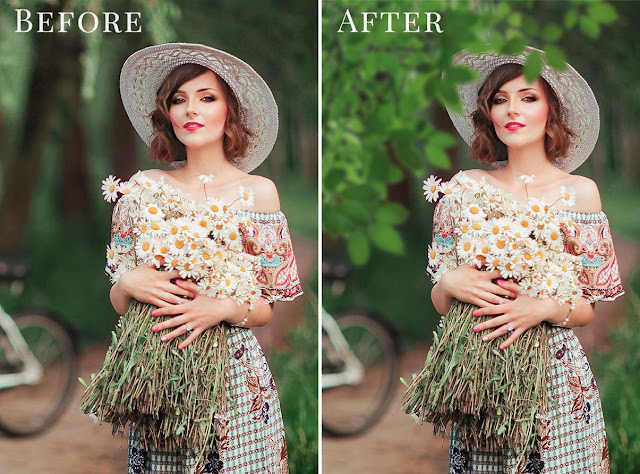
We have shown you the Preview image below, in which you can see how amazing all its effects are.

Download the file easily from the download link given below
Password is : dgpik.com

How to Load Photoshop Action
RULES & RECOMMENDATIONS
1. use photo sizes between 1500–2500px (recommended 3000px)
2. use photo resolution between 240-300dpi (recommended 300pdi)
3. use RGB and 8bit color mode in Photoshop
4. use your photo as the background (Layer -> New -> Layer from Background)
HOW TO INSTALL THE ACTION
1. Open Photoshop 🙂
2. Make sure your ACTIONS palette is open. If not, go to WINDOW – ACTIONS.
3. In the actions palette on the top right corner click on the lines icon. Next, click on LOAD ACTIONS.
4. Select the action you wish to install and then click OPEN.
5. Your ACTION will now appear in the actions palette and are ready to be used.
HOW TO INSTALL THE BRUSHES
1. Open Photoshop 🙂
2. Make sure your select the BRUSH tool on TOOLS panel. If not, go to WINDOW – TOOLS.
3. In the brushes palette on the top right corner click on the icon. Next, click on LOAD BRUSHES.
4. Select brushes you wish to install and then click OPEN.
5. Your BRUSHES will now appear in the brushes palette and are ready to be used.
HOW TO INSTALL THE PATTERNS
1. Open Photoshop 🙂
2. Click EDIT at the top of the window, then click FILL.
3. Click the drop-down menu to the right of Use, then click PATTERN.
4. Click the drop-down arrow to the right of Custom Pattern, click the right arrow, then click LOAD Patterns.
5. Browse to the folder you extracted earlier, open it, then double-click the pattern file located inside of it.
HOW TO USE THE ACTION
1. Install the Action, Brushes and Patterns (see instructions above)
2. Open your photo. Make sure your photo as the background (Layer -> New -> Layer from Background)
3. Create a new layer above the background layer and called it “Brush”. Don’t forget to do it!!!
4. With the “Brush” layer selected, brush (use any color soft brush) onto the area of photo.
5. Click play button on action panel. That’s all!