
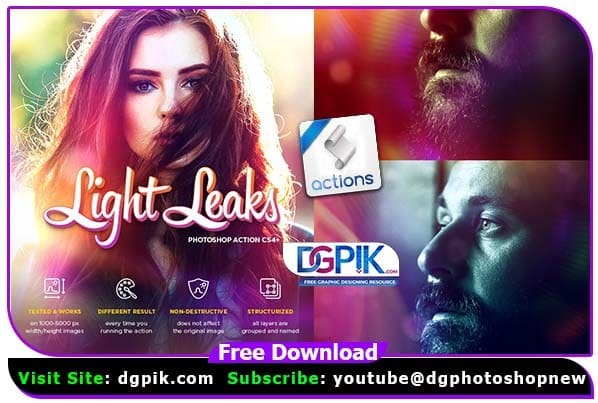
Light Leaks Effect Photoshop Action Free Download Add to your photo amazing color filters with light leaks effect! Just few steps and minutes and you will get the photo with realistic light leaks effect for instagram, wallpaper, portrait and more. Convert your simple photo to professional result! Final result is fully editable and include 10 photo filters, 10 light leaks and 2 additional effects in one action. Make sure to watch the video tutorial for how to set up your Photoshop file and customise the effect. If you want you can also download. Photoshop Action
Light leaks are a popular effect used in photography and videography that can add a vintage or retro look to your photos and videos. If you want to create a light leaks effect in Photoshop, you can do so using an action. If you want you can also download. Photoshop Effect
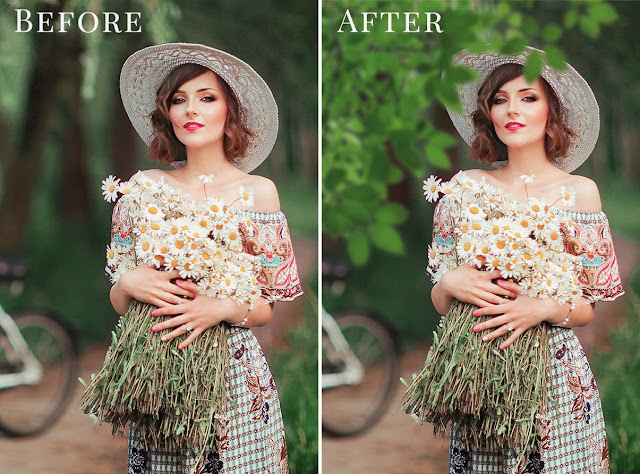
We have shown you the Preview image below, in which you can see how amazing all its effects are.

Features:
- 10 color filters;
- 10 light leaks;
- 2 additional effects;
- Available to control effect color;
- Tested and works on pictures with 500-5000px width images, any resolution;
- Structurized and editable PSD-file;
- Non destructive effect;
The Action has been tested and working on Photoshop CS4, CS5, CS6, CC, CC 2014, 2015.5, CC 2017, CC 2018, CC 2019, CC 2020, CC 2021+. Works in any language.
The package contains 1 files:
Light Leaks ATN;
Download the file easily from the download link given below
Password is : dgpik.com

PREPARATIONS AND USING:
1. Open Actions Panel (Alt + F9 / Window –› Actions);
2. Use menu “File › Open…” to load the action;
3. Open your picture (500 – 5000 px, 72-300 dpi, RGB, 8 bit/channel);
4. Play ‘Main Effects’ action, it will create 10 photo filters and
10 light leaks;
5. If you want to add bokeh and rainbow leak effects then play
‘Additional Effects’ action;
6. Open the groups that was created with action and make visible
the effects you want to apply
7. Use ‘Move Tool’ (V button) to place the effects where it will
look nice.
8. You can find the solid color layers inside the groups with effects
and change the color of effect.
9. Play ‘Finalize’ action when you finish with previous steps;
10.Use ‘File – Save/Save As…’ menu to save your result