

Phoenix Effect CS4+ Photoshop Action for free download Action include ATN, Pattern, Brush, with high speed download Click on Download Button for free
No skills required, text tutorial available.
This action was tested in Adobe Photoshop from CS4 and to the actual version.
All of my actions are multilingual so no matter what language you use – it will work!
It is non destructive for your picture and your Background layer stay untouched.
All layers are named, structurized and placed to folders.
Different result every time!
Please note: the recommended size for this action is from 1500 pixels on the smaller side to 5000 pixels on the biggest side

Features:
Tested and works on pictures with 1500-5000px width images, any resolution;
Structurized and editable PSD-file;
Different result every time!
Non destructive effect;
Action has been tested and works in CS4, CS5, CS5.5, CS6, CC, CC2014, CC2015, CC2015.5, CC2017, CC2018, CC2019, CC2020, CC2021+ versions. Works in any language Photoshop versions.
The package contains 2 files:
Phoenix.ATN;
Phoenix Brushes.ABR;
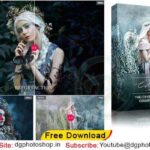
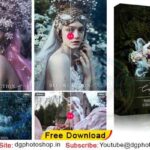
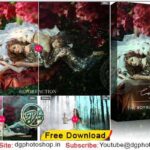
We have shown you the Preview image below, in which you can see how amazing all its effects are.

Download the file easily from the download link given below
Password is : dgpik.com

PREPARATIONS AND USING:
1. Open Actions Panel (Alt + F9 / Window –› Actions);
2. Use menu “File › Open…” to load the action;
3. Load brushes from the package:
1) Use menu “Edit › Presets › Preset Manager” for CS6+ versions
or “Edit › Preset Manager” for CS4-CS5 versions;
2) Choose “Preset Type: Brushes” and load brush file;
4. Open your picture (1500 – 5000 px, 72-300 dpi, RGB, 8 bit/channel);
5. Create new empty layer, name it “brush” (all lowercase);
6. Paint the area over your object on the “brush” layer;
7. Select the action ‘Make Phoenix’ and play it;
ADJUSTING THE RESULT:
1. If you want to make bigger or smaller light and fire effects –
play the ‘Effect Correction’ action. This action allows you to
transform light and fire effects. Use transformation markers
to change effect size and press enter to apply transformation.
2. Control the opacity of any layer or group;
3. Control adjustment layers inside groups to control color,
brightness and contrast settings;
4. Paint over pixel mask of the layers to hide or reveal effects.