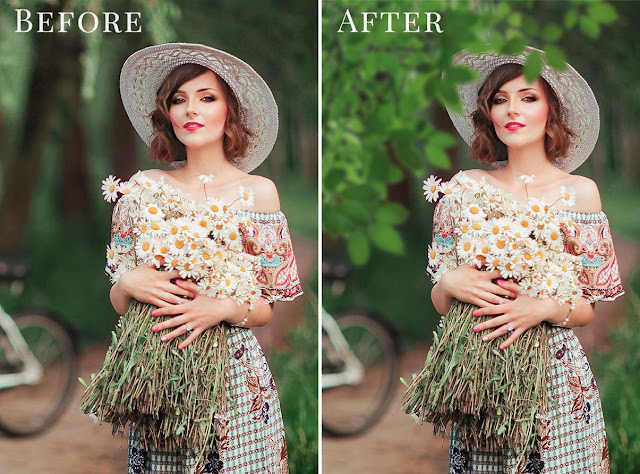

Vintage Camera Light Leaks Photoshop Action Free Download A light leak, commonly associated with Holga model cameras, is an area within a camera where light is able to seep, or “leak” in, causing the film to over-expose. A light leak is a hole or gap in the body of a camera where light is able to “leak” into the normally light-tight chamber, exposing the film or sensor with extra light. You Can Also Download Light Leaks Effect Photoshop Action
This light is diffuse, although parts within the camera may cast shadows or reflect it in a particular way. For most purposes this is considered a problem. Within the lomography movement it is seen as a positive effect, giving photos character. Light leaks in photography are becoming more and more popular. In fact, some people actually simulate such an effect during the editing process to create that retro vintage look to their photos. Camera light leaks can easily be simulated through photo editing software such as Adobe Photoshop. You Can Also Download 125 Light Leaks Photo Overlays
Download the File Easily From the Download Link Given Below
Password is: dgpik.com
How to Load Photoshop Action
How to Use Action in Photoshop
To use actions in Photoshop, follow these steps:
- Open Photoshop: Launch Adobe Photoshop on your computer.
- Load the Actions Panel: Go to the “Window” menu at the top of the screen and select “Actions” to open the Actions panel. Alternatively, you can use the keyboard shortcut “Alt + F9” (Windows) or “Option + F9” (Mac).
- Load Actions: Once the Actions panel is open, click on the panel menu icon (three horizontal lines at the top-right corner of the panel) and choose “Load Actions” from the drop-down menu.
- Locate the Action File: In the “Load” dialog box, navigate to the location where your action file (.atn) is saved on your computer. Select the file and click “Load.”
- View Actions: The loaded action set will appear in the Actions panel. Click the triangle icon beside the action set name to expand and view individual actions within the set.
- Play an Action: To use an action, simply select the desired action from the Actions panel. Then, click the “Play” button at the bottom of the panel (right-facing triangle icon) or press the play button on the bottom of the Actions panel.
- Observe the Action: The selected action will begin to play, executing a series of predefined steps or adjustments. Actions can automate various tasks, such as applying filters, adjusting colors, resizing images, or creating specific effects.
- Customize the Action (Optional): If desired, you can customize the action’s behavior or adjust the settings within the action steps. Double-click on an action step to modify its properties or make changes. This step is optional, and you can skip it if you’re satisfied with the default settings.
- Save an Action: If you create a new action or modify an existing one, you can save it for future use. Click on the panel menu icon in the Actions panel, and select “Save Actions” from the drop-down menu. Choose a location to save the action file and provide a name for the action set.
By following these steps, you can effectively load, play, customize, and save actions in Adobe Photoshop, helping you automate repetitive tasks and enhance your workflow.