
122 Soap Bubbles Photo Overlays Soap bubble photo overlays are a type of digital graphic that can be added to photos in post-processing software such as Adobe Photoshop or Lightroom. They typically feature images of soap bubbles in various sizes and colors, which can be used to add a whimsical, dreamy or playful feel to your images. If you want you can also Download. Photoshop Overlays

- 122 JPG files – Width 4500 px
- High resolution ready to print 300dpi
- Photoshop overlay actions to easy apply
- Friendly instructions inside
EASY TO USE
- Text Instructions inside
- Photoshop Actions to easy apply
Buy it now and make perfect photos to customers!
PLEASE NOTE
2. After complete downloading the archive ‘032-PRO. 122 Soap Bubbles Photo Overlays by Bundle.Cat.zip’ will be downloaded to the ‘Downloads’ folder or the one you selected. 3. Unzip the archive into a folder. Do not be discouraged if the folder images with a black background. There is a Screen Blend Mode that allows you to remove the black background by displaying only objects in the Photoshop. 4. Open the Photoshop, open an image that you will apply and follow one of the ways below.
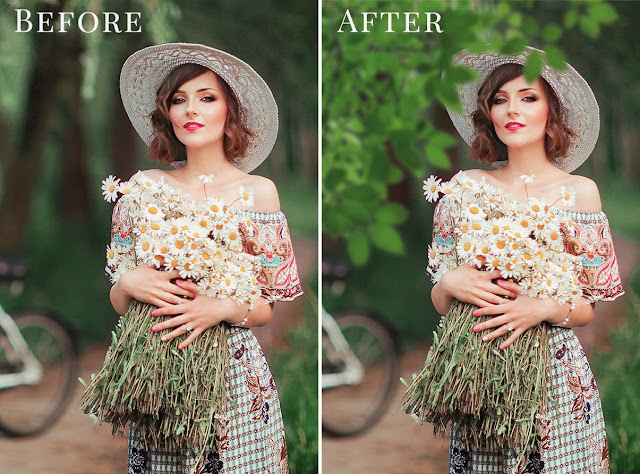
We have shown you the Preview image below, in which you can see how Amazing All its Effects are.

Download the File Easily From the Download Link Given Below
Password is : dgpik.com

PLEASE LET ME KNOW IF YOU HAVE ANY QUESTIONS. Сontact me at
INSTRUCTIONS
There are 3 the ways to apply photo overlays: 1st – using Overlay Actions (include) 2nd – using Quickstart PSD course (include only in PRO version) 3rd – standard, Drag’n’Drop method
1ST WAY: OVERLAYS ACTION
This method is more progressive because it allows you to quickly apply overlays from any folder, even from other sellers. In the settings of the action, you can set the hotkey F3 (for example) so that in one click you call this action 1. Double-click on the ‘Overlay Actions.atn’ file to load it into Photoshop. Once installed, please access the Actions panel within Photoshop by clicking on ‘Window > Actions’. There are 2 actions: JPEG and PNG Overlays. The difference between Overlay Action JPEG and Overlay Action PNG is that JPEG applies the Screen Blend Mode. 2. Find ‘Overlays Action’ and press Play action what you need. 3. The Photoshop dialog box opens and prompts you to select the file. Click ‘Continue’ and find the folder you unzipped and select the image you like. This image will immediately get into your Photoshop file where the photo is open. 4. Scale, rotate or reflect the overlay if you want 5. Press Cmd (Ctrl) + Enter and the action will create a layer mask and two adjustment layers. If necessary, apply a black brush on the layer mask to hide the image where necessary, and in the correction layers, adjust the color or Levels so that the overlay looks appropriate for the photo. 6. Save the image and show your customers, they will be pleasantly surprised by the result
2ND WAY: Quickstart PSD COURSE
This method allows you to work in a photoshop file, where you can select the overlay you like, making the layer visible. This is convenient because you can see it in the thumbnails of the layers of the image, but it’s inconvenient that in some versions of Photoshop the file may not open properly. This function is optional and is supplied as is.
3RD WAY: DRAG’N’DROP
3.1 Drag from the folder any image and place it in a Photoshop file. For images with a black background, apply the Screen Blend Mode. To change the blend mode, double-click on the layer, the layer styles window will open. Change the blending mode and proceed to the next step. For overlays with a transparent background, you do not need to do anything. 3.2 Scale, transform, lower the opacity or add a Layer Mask and Paint on Your Overlay if necessary.